Introduction
From the Servers page, you can create and manage your own servers dynamically to publish and host your projects.
Each server is fully dedicated to you and is not shared with any other users. A single server can host one project or multiple projects based on your needs and the server specifications you choose.
Servers created from this section are used later in the production deployment process to publish and run your applications.
Create a New Server
When you click on the "New Server" button, a form will appear allowing you to configure the server before creation.
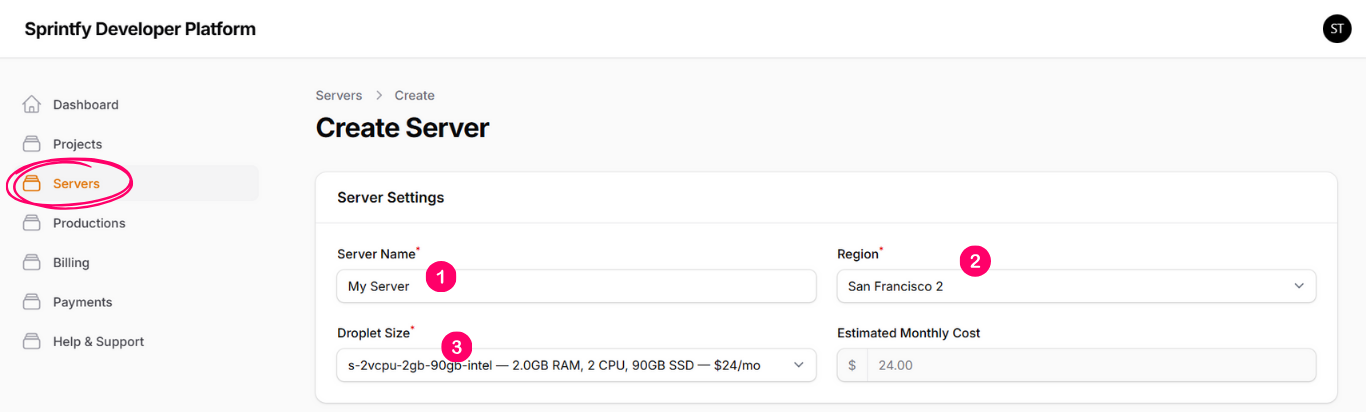
The form includes the following inputs:
1- Server Name
Type a name for this server to keep your servers organized and easy to identify.
2- Region
Select the data center region in which you want the server to be created.
3- Droplet Size
Select the server specifications, such as CPU, memory, and storage,
based on the expected load and number of projects.
When selecting a droplet size, you will see the monthly cost of the server. This cost is retrieved directly from the infrastructure provider and reflects the real pricing of the selected configuration.
Server Provisioning
After submitting the server creation form, you will be redirected to the server view page, where you can see the server details and current status.
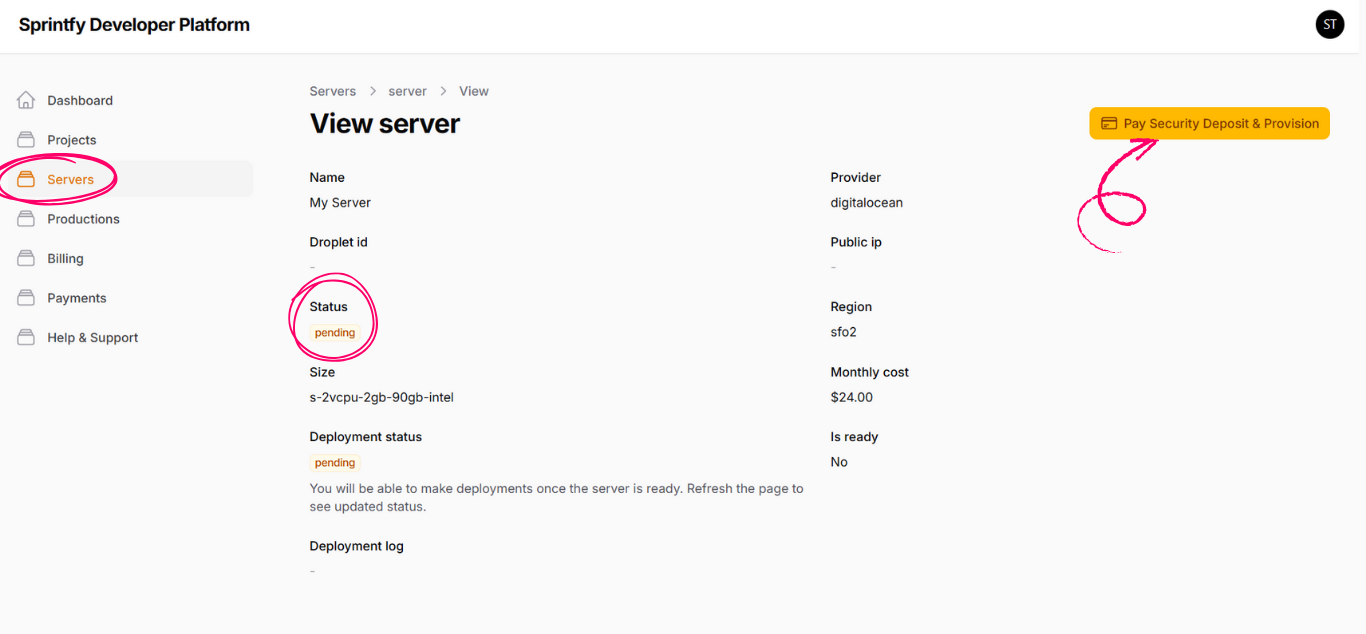
To start the server provisioning process, you must complete the "Pay Security Deposit" step.
Once the payment is completed successfully, the server provisioning process will begin automatically.
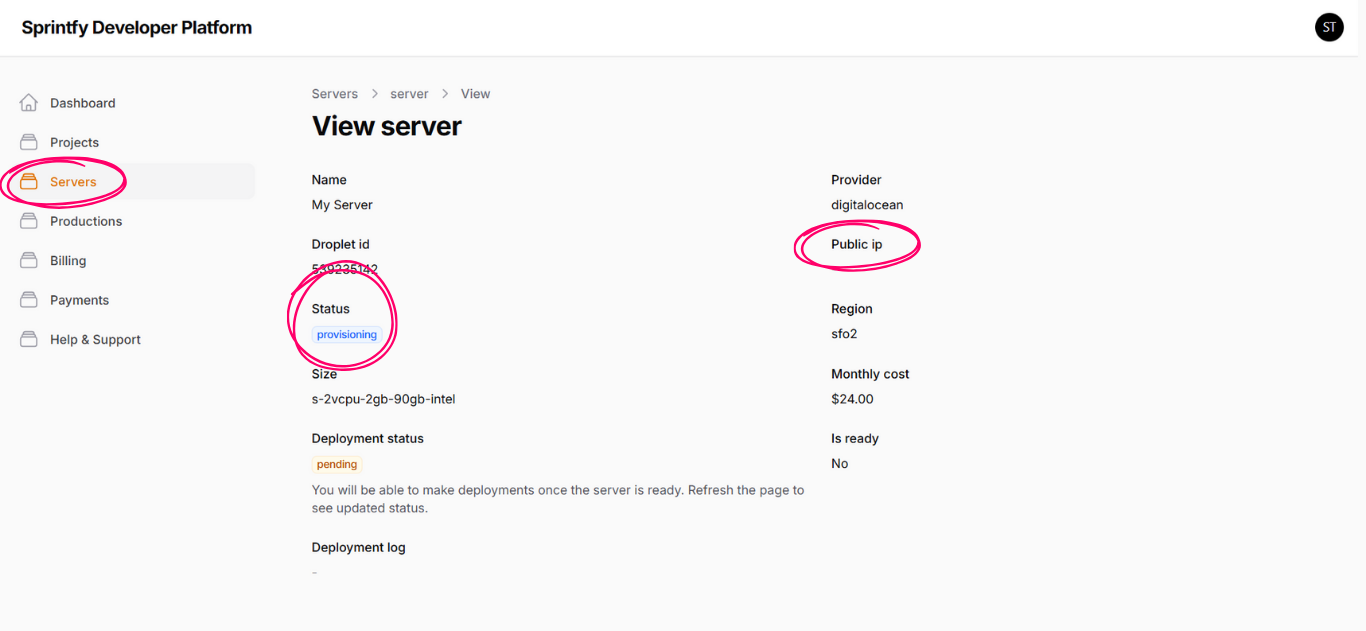
You need to wait until the server status becomes "Running", and then wait until the deployment status changes to "Ready".
When both statuses are completed, the server will be fully prepared and ready to be used for production deployments.